TrackTik allows you to create holiday group(s) that you can assign to various elements, such as positions created at the site, zone, or department level. TrackTik supports multiple holiday groups. If you pay for some holidays and bill others, or if some sites have different holiday policies, you can customize your holiday groups to match these requirements.
Accessing BackOffice Default Settings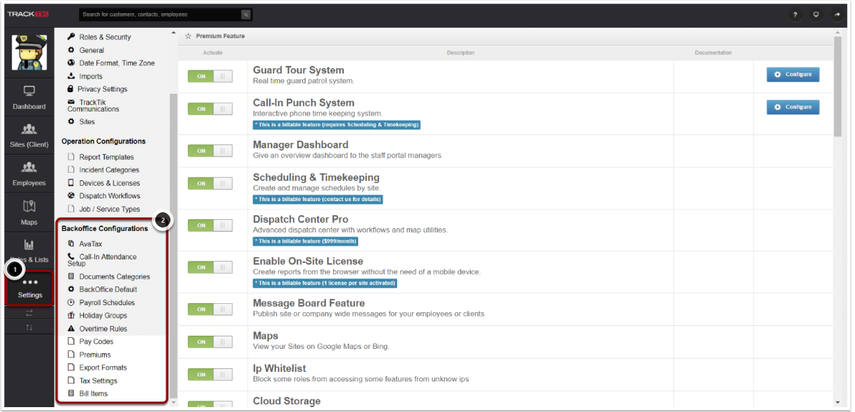
Follow the steps below to access the default settings in the BackOffice.
- From the Live Dashboard, click on the "Settings" button. It will bring you to all the settings for your portal.
- The items shown in the "Backoffice Configurations" menu are the options for configuring the default settings for the back office.
Create a Holiday Group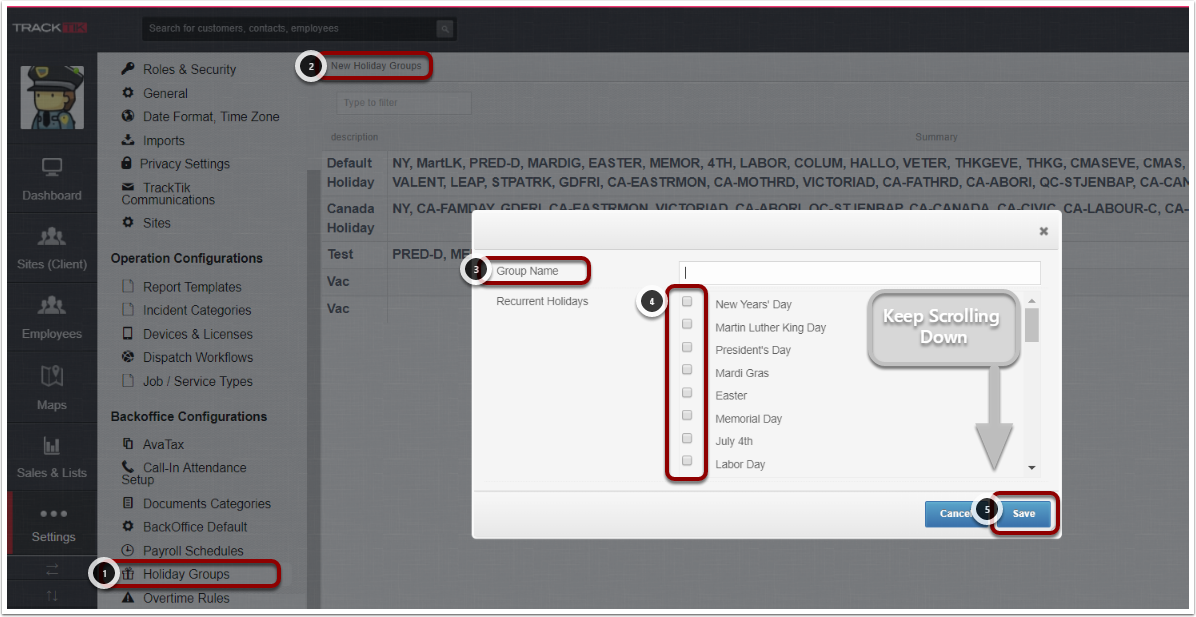
To create a Holiday Group:
- Select the Holiday Groups option from the left menu.
- Select the New Holiday Groups from the top of the screen.
- A dialog box appears. Enter a label in the Group Name field.
- Then select the check box next to the holidays to be included in the holiday group.
- Once complete, click Save to save the group.
Modify a Holiday Group
To modify a Holiday Group:
- Select the Holiday Groups option from the left menu.
- Select the New Holiday Groups from the top of the screen.
- A dialog box for Recurrent Holidays allows you to search for Holiday codes and add them to the group.
- Once complete, click Save to save the group.
If a holiday is not available in the current TrackTik Holiday list, or if the holiday does NOT fall the in the same month or the same day each year, we can add additional holidays. Please speak with your TrackTik representative for assistance.